 (Image via
Natural dyeing is a richly rewarding craft that allows you to transform fabrics, yarns, or even papers into stunning works of art using nature’s vibrant spectrum. Whether you’re looking for a fun DIY project or striving to make your wardrobe more sustainable, natural dyes made from plant materials offer eco-conscious creativity at its finest.
This guide walks you through the materials, steps, and tips you’ll need to craft your own natural dyes at home, using everything from onion skins to avocado pits. With a little experimentation and patience, you can achieve an array of unique, earthy tones that carry the beauty of nature in every fiber.
Why Use Natural Dyes?
Natural dyes are a time-honored tradition, used for centuries to add beautiful hues to textiles. Unlike synthetic dyes, they are derived from renewable materials like plants, flowers, and even kitchen scraps, making them kinder to both your skin and the planet.
Benefits of Natural Dyes:
- Eco-Friendly: Derived from biodegradable, non-toxic materials.
- Unique Results: Subtle variations make each dyed piece one-of-a-kind.
- Sustainable Use of Waste: Utilize onion skins, avocado pits, or herb stems that would otherwise be discarded.
- Creative Expression: Experimenting with natural materials opens up unlimited creative possibilities.
Now, gather your tools and materials, and let’s get started!
What You’ll Need
Before you begin, collect the following materials to set up your natural dye station.
Materials:
- Fabric or Yarn: Natural fibers like cotton, wool, silk, or linen absorb dyes best. Pre-washing the material ensures it’s free from residues.
- Plant Materials: A variety of plants, flowers, spices, or food scraps will yield different colors (see examples below).
- Mordants (Optional): Mordants like alum, vinegar, or baking soda help fix the dye to the fabric and may alter or intensify the colors.
- Large Pot: A non-reactive stainless steel or enamel pot works best for dyeing.
- Stirring Utensil: Use a dedicated wooden or stainless-steel spoon.
- Strainer or Cheesecloth: For separating plant solids from the dye liquid.
- Rubber Gloves: Protect your hands from staining.
- Water: Clean, filtered water for soaking and dyeing.
Once you have all your tools and materials laid out, you’re ready to craft your natural dyes.
Step-by-Step Instructions to Create Natural Dyes
1. Choose Your Plant Materials
Select plants or scraps based on the color you’d like to achieve. Here are a few examples of common items and their resulting hues:
- Yellow: Onion skins, turmeric, marigold flowers.
- Pink: Avocado pits, beetroot, hibiscus flowers.
- Orange: Carrot tops, pomegranate rind.
- Purple/Blue: Red cabbage, blueberries, black beans.
- Brown: Walnut shells, coffee grounds, tea leaves.
- Green: Spinach leaves, nettles.
2. Prepare Your Fabric
Before dyeing, you’ll need to prep your fabric:
- Wash the fabric with mild soap to remove any sizing, oils, or dirt.
- Soak it in water mixed with a mordant (optional, see below). For example, a vinegar soak (1 part vinegar to 4 parts water) works as a natural mordant for cotton or linen and enhances color absorption.
3. Extract the Dye
Now it’s time to turn your plant material into dye:
- Chop or tear your plants into small pieces to release more pigments.
- Place the plant materials in your large pot and cover them with water. A ratio of roughly 2 parts water to 1 part plant material works well.
- Simmer the mixture gently for 30–60 minutes. Avoid boiling to preserve the vibrancy of the pigments.
- Once the color is rich, allow it to cool slightly, then strain the liquid through a cheesecloth or fine strainer to remove solids.
4. Prepare the Dye Bath
Transfer the strained dye liquid back into the pot. Add your prepped fabric to the dye bath, ensuring it’s fully submerged. Simmer the fabric in the dye for 30 minutes to 1 hour, stirring occasionally to ensure even coloring. If you’re aiming for deeper tones, leave the fabric to soak overnight in the cooled dye bath.
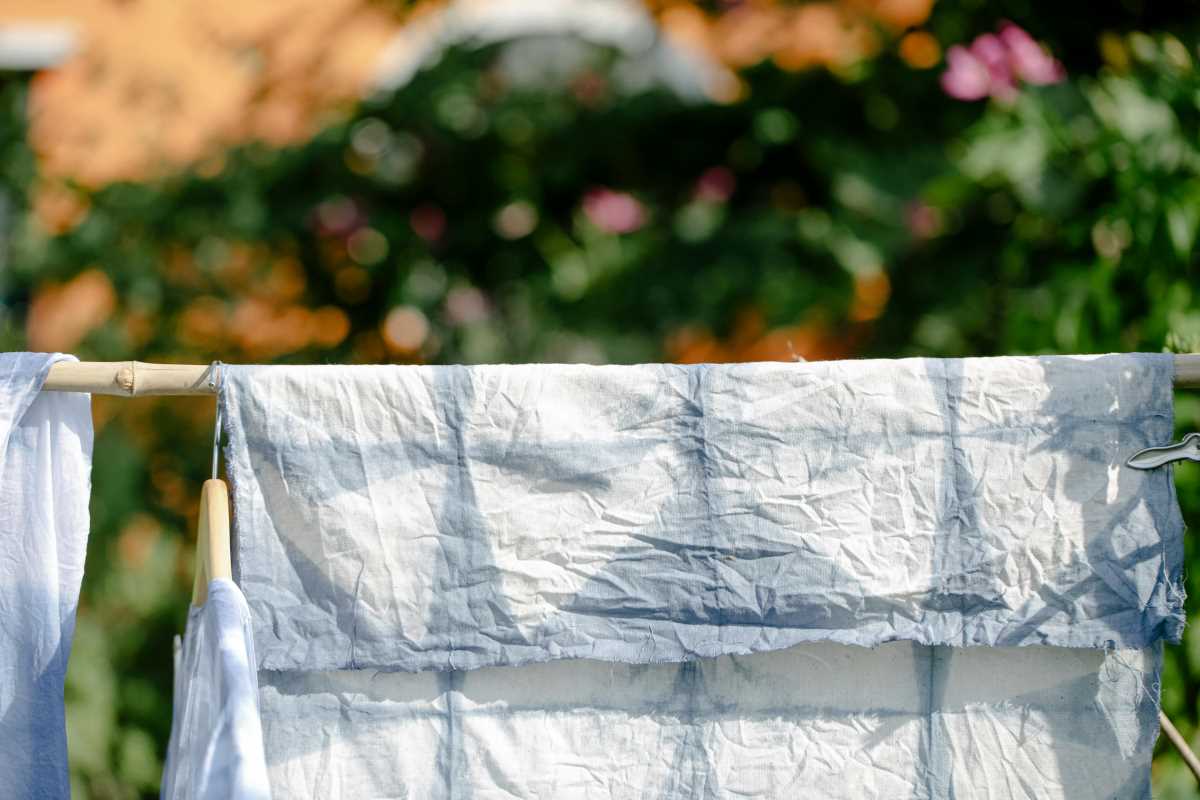
5. Rinse and Dry
When your desired color is achieved:
- Remove the fabric from the dye and rinse it thoroughly under cool water. Rinse until the water runs clear.
- Hang your fabric to dry in a shaded area to prevent fading caused by direct sunlight.
Tips for Achieving Vibrant Colors
- Use Fresh Materials: Fresh or frozen plant materials generally produce stronger colors than dried alternatives, but dried herbs and flowers can still yield great results.
- Experiment with Mordants: Natural mordants like alum, baking soda, or iron can alter or intensify colors. For example, red cabbage produces purple hues but shifts to blue or green when baking soda is added.
- Control Heat: Avoid boiling the dye bath, as high heat can dull certain pigments. A gentle simmer is best.
- Layer Dyes: If a single color isn’t vibrant enough, try dyeing the fabric in multiple layers with the same dye or different plants.
Creative Ways to Use Natural Dyes
- Create Tie-Dyed Patterns: Bind your fabric with rubber bands or string before dyeing to create unique patterns.
- Dye Paper or Yarn: Expand beyond fabric by dyeing watercolor paper or DIY yarn projects.
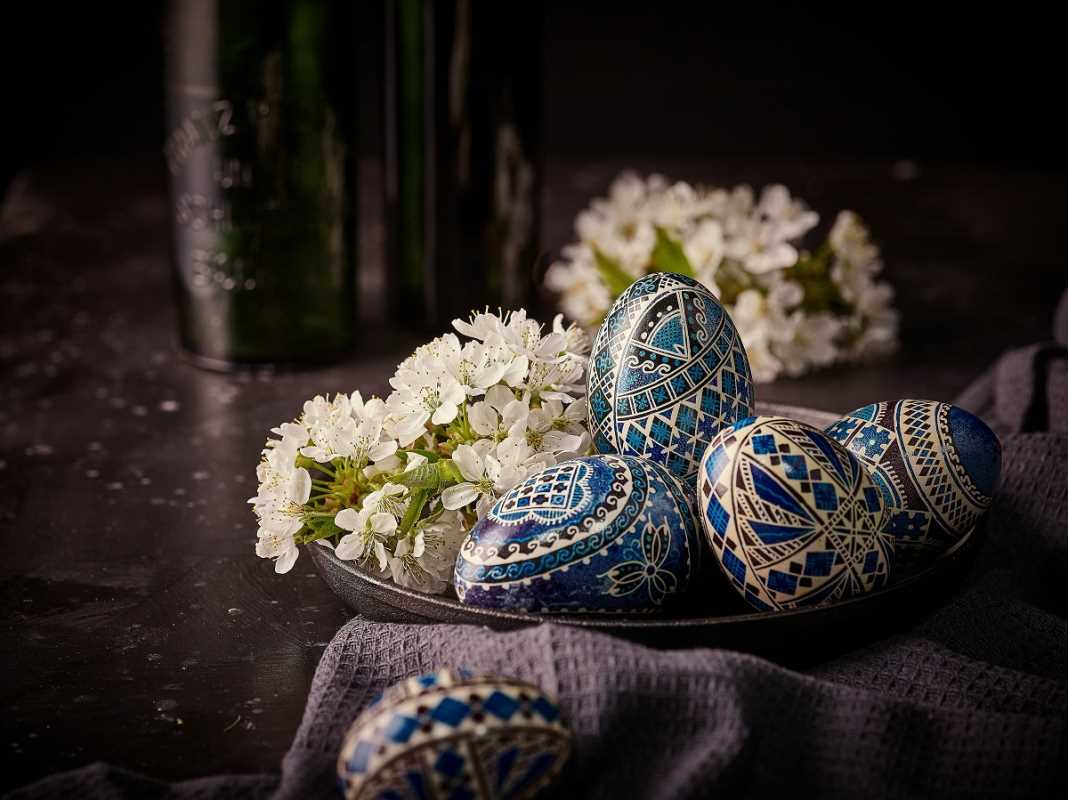
- Seasonal Crafts: Use plant-based dyes to color eggs naturally for spring celebrations or to dye fall-themed table linens.
- Upcycled Clothing: Refresh old clothing by over-dyeing stains or faded areas with natural colors.
Common Plant Materials and Their Color Profiles
Here’s a quick cheat sheet for plant materials and their associated hues to inspire your dyeing adventure:
- Onion Skins (Yellow and Orange): Perfect for sunny, warm tones.
- Avocado Pits (Blush Pink): A soft, dusky pink perfect for delicate accents.
- Red Cabbage (Purple and Blue): Produces a spectacular purple that changes with pH – greenish-blue with baking soda or pink-purple with vinegar.
- Walnut Shells (Rich Brown): Perfect for earthy, neutral tones.
- Turmeric (Golden Yellow): Bright and bold, but be cautious as it can fade over time.