 (Image via
Table décor can make or break a dining or entertaining experience. It sets the tone, tells a story, and creates a warm, welcoming atmosphere. Among the myriad of elements that contribute to a well-dressed table, handmade wooden coasters stand out as a delightful combination of charm, functionality, and artistry. They protect your surfaces from unsightly rings and spills, and also add character and warmth to your table setting.
Whether you're going for a rustic farmhouse feel, a modern minimalist vibe, or a bohemian dreamscape, these coasters can effortlessly elevate your table décor. Here’s why they should be a staple in your home and how to make the most of their charm.
Why DIY Wooden Coasters?
Creating your own wooden coasters allows you to infuse your space with personal flair while exploring your crafty side. Here’s why they make an excellent DIY project:
- Sustainable and Cost-Effective: You can repurpose leftover wood or reclaimed materials that may otherwise go to waste.
- Customizable: Design coasters to fit your home’s aesthetic, from rustic to modern.
- Perfectly Imperfect: Handmade items have character and charm that store-bought items can’t match.
- Gift-Worthy: Handmade coasters make thoughtful, heartfelt gifts.
Materials You’ll Need
To start crafting your own coasters, gather the following materials. Most are easy to find at craft stores or hardware stores:
Tools:
- A saw (a handsaw or jigsaw will work, or a hole saw attachment if creating circular coasters)
- Sandpaper (medium and fine grit)
- A woodburning kit (optional, for decoration)
- Paintbrushes
- A drill with small bits (optional, for holes in hanging designs)
Materials:
- Wood (examples below)
- Wood stain or paint
- Polyurethane or beeswax for sealing
- Cork sheeting or felt for backing (optional)
- Painter’s tape (if creating patterns)
Choosing the Right Wood: Choose wood species based on the look you want.
- Pine or Birch: Great for light, neutral tones.
- Cedar or Walnut: Perfect for deep, dramatic hues.
- Tree Slices: Keep the natural bark edging for a rustic feel.
- Scrap Wood: Reuse projects leftovers for eco-friendly coasters.
Step-by-Step Guide to Crafting Wooden Coasters
Whether you’re a seasoned DIY enthusiast or new to woodworking, this process is simple and approachable.
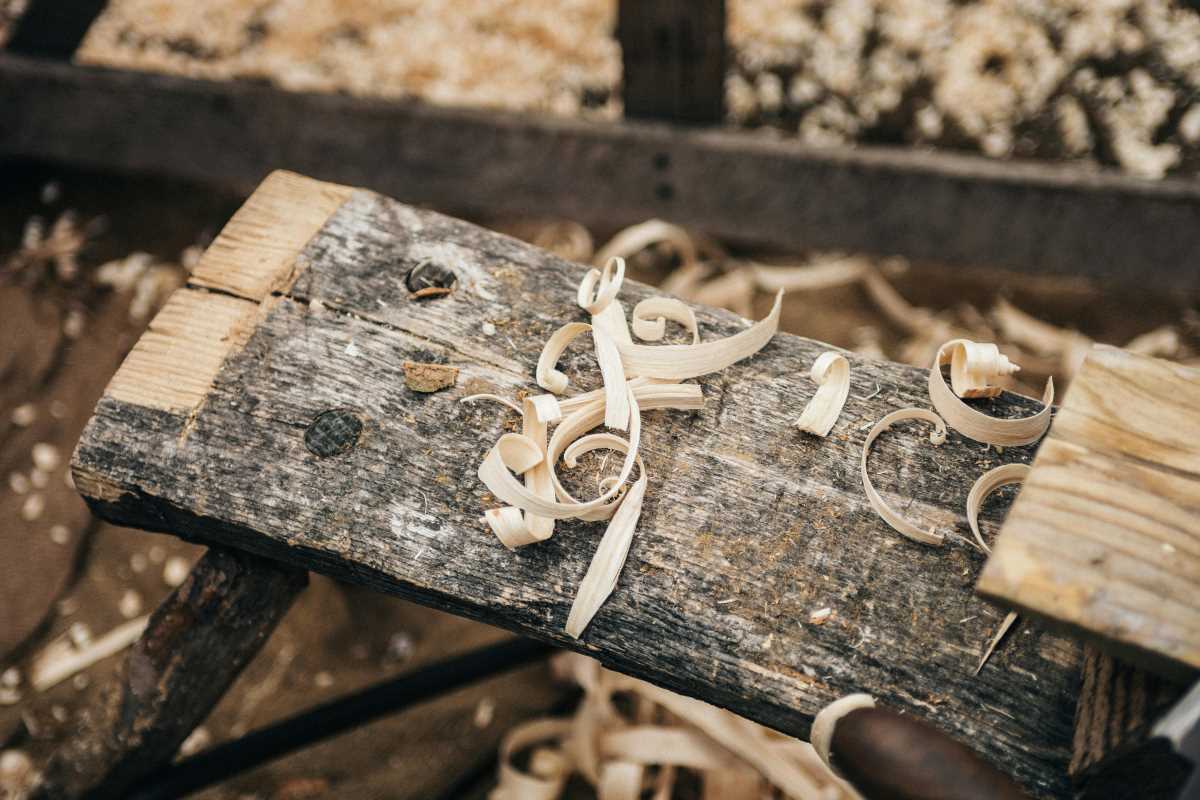
1. Cut Your Base
- For Circular Slices: If using tree branches, saw them into slices about ¼ to ½ inch thick. Ensure slices are even to avoid wobbling.
- For Geometric Coasters: Use a saw to cut squares, hexagons, or triangles. A ruler and pencil can help you trace exact shapes beforehand.
2. Sand Thoroughly
Smooth each piece of wood using sandpaper, starting with a medium grit and finishing with a fine grit. Be sure all edges are even and the surface is silky smooth.
Pro Tip: For tree slices, sand the bark lightly as well to remove dirt and rough spots while keeping the natural look intact.
3. Decorate Your Coasters
This is where you can truly make the design your own!
Option 1: Natural Wood Finish
- Use a wood stain to enhance the grain and bring out the natural beauty of the wood. You can keep it light or go for darker tones depending on your decor style.
Option 2: Hand-Painted Patterns
- Use painter’s tape to create clean lines or geometric patterns.
- Experiment with acrylic paints in earthy tones, or go bold with splashes of metallic gold or silver.
Option 3: Woodburning
- A woodburning tool lets you etch intricate designs, such as mandalas, botanical motifs, or initials, directly onto the wood. Practice on scrap wood first to perfect your technique.
Pro Tip: Combine painting and woodburning for a layered look, like painting the background and etching details over it.
4. Seal and Protect
Apply a sealant to protect your coasters from moisture and wear. Choose from these options based on your preferences and materials:
- Polyurethane: Provides a durable, glossy or matte finish, and protects against water damage.
- Food-Safe Oils or Beeswax: Ideal for minimalists who want a natural look without chemicals.
Apply two to three coats, letting each layer dry thoroughly before moving to the next.
5. Add a Backing (Optional)
To make your coasters non-slip, add cork sheeting, felt, or small silicone pads to the bottom. Cut your backing material to size and glue it securely to the underside.
Why It’s Helpful: A backing not only keeps your surfaces safe but also adds extra polish to your coasters.
Creative Variations
Get inspired with these fun twists on traditional coaster designs!
- Bark-Edged Coasters: Retain the rough edges of tree slices for a cozy, rustic charm. These pair beautifully with farmhouse or cabin aesthetics.
- Resin-Embedded Coasters: Pour clear resin over dried flowers, sea glass, or pressed leaves to create transparent accents on your coaster’s surface.
- Mixed Media: Pair wood bases with accents of leather, stone inlay, or paint-dipped edges for an eclectic look.
- Holiday Themes: Decorate coasters seasonally, such as painting snowflakes in winter or blooming florals in spring.
- Letter Stamping: Burn or paint monograms or meaningful quotes onto each coaster for personalized gifts.
Caring for Your Handmade Wooden Coasters
To ensure your wooden coasters last for seasons to come, follow these maintenance tips.
Clean Gently
- Wipe your coasters with a damp cloth after use. Avoid soaking them as excessive moisture can warp the wood.
- For stained beverages like coffee or wine, clean immediately with a cloth and mild soap.
Reseal Over Time
If your coasters start to lose their protective sheen, reapply sealant or oil lightly. This replenishes the finish and prevents dry, cracked surfaces.
Store with Care
To prevent scratches or dents, stack coasters flat or use a decorative box to keep them organized.
Pro Tip: Keep a few extra coasters handy as replacements or for special occasions to keep your collection fresh.