The idea of baking sourdough bread from scratch intimidates many, but it all starts with one simple ingredient: the sourdough starter. This bubbly, living culture is the heart of sourdough bread, giving it that tangy flavor, irresistible texture, and artisanal charm. Best of all, making your own starter is much easier than it sounds. With just flour, water, and some patience, you can create a strong, healthy starter that lasts a lifetime.
This step-by-step guide will walk you through the process of making a starter from scratch. You’ll also learn the science behind it, tips for troubleshooting, and advice for keeping your starter happy and ready for baking.
What is a Sourdough Starter?
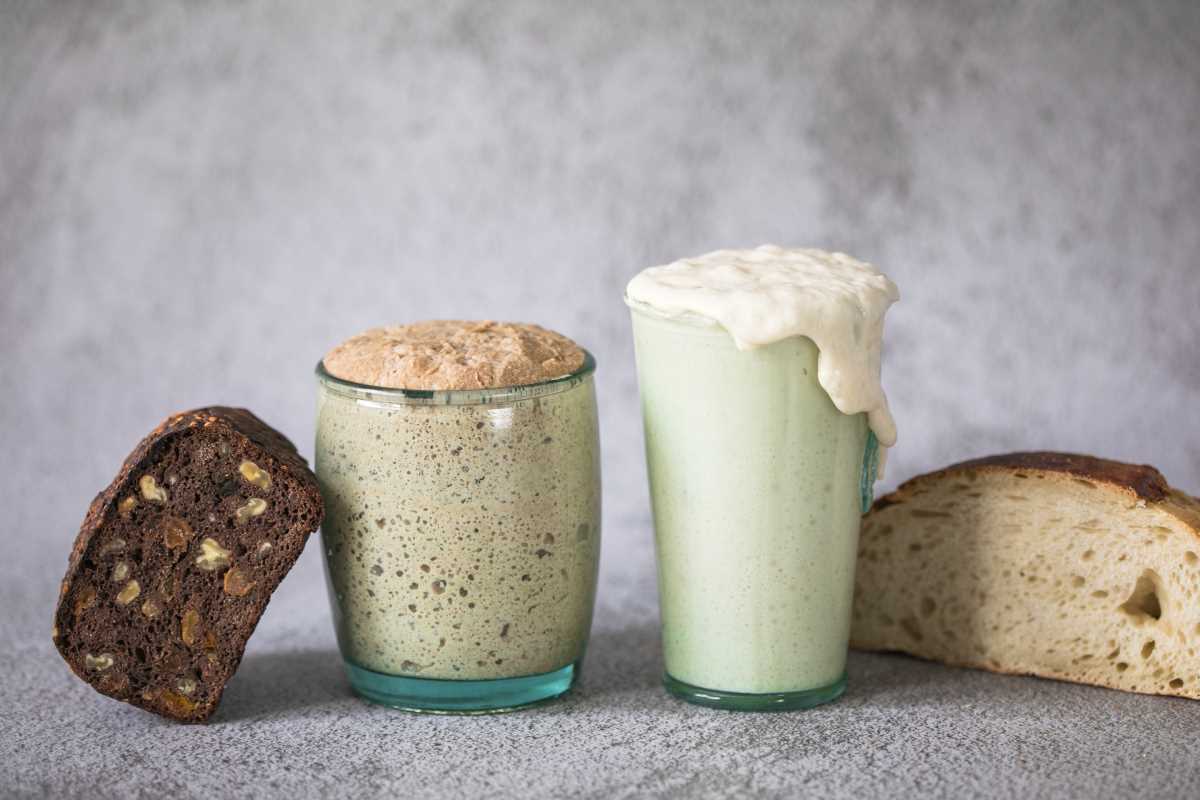
A sourdough starter is a mixture of flour and water that captures natural wild yeast and lactic acid bacteria from its environment. Over time, these microorganisms grow and thrive in the mixture, turning it into a bubbly, living ferment. This starter is what makes sourdough bread rise without the need for commercial yeast.
Why is a Starter Essential?
- Leavening: The wild yeast in a starter produces carbon dioxide, helping sourdough bread rise.
- Flavor Development: The lactic acid bacteria give sourdough its characteristic tang and depth of flavor.
- Natural Process: With no additives or preservatives, sourdough baking is a natural and wholesome method of bread-making.
Once you have a healthy starter, you’ll have everything you need to bring your sourdough creations to life.
What You’ll Need to Get Started
Ingredients
- Flour: Start with unbleached all-purpose or whole wheat flour. Both work well because they naturally contain wild yeast.
- Water: Use filtered or dechlorinated water. Chlorine or other chemicals in tap water can inhibit microbial growth.
Tools
- Clean Jar or Bowl: A glass jar with a wide mouth works best to monitor activity and feeding progress.
- Kitchen Scale or Measuring Tools: Precision is key, so weighing ingredients is highly recommended.
- Spoon or Spatula: For stirring the mixture.
With these simple ingredients and tools, you’re ready to make your own sourdough starter.
Step-by-Step Guide to Making a Starter
Follow these steps over 5–7 days, and you’ll have a bubbly, active starter ready for baking!
Day 1
- Combine Flour and Water
- Mix 50g flour with 50g water in your jar (or approximately 1/4 cup each if using measuring cups). Stir well until no dry flour remains.
- Cover Loosely
- Cover the jar with a breathable lid, such as a cloth secured with a rubber band, or leave the lid slightly ajar. This allows wild yeast and bacteria to enter while keeping debris out.
- Wait
- Leave the jar at room temperature (about 70–75°F, or 21–24°C) for 24 hours.
Day 2
- Check for Activity
- Open the jar and look for small bubbles or a slightly tangy smell. This indicates fermentation has begun.
- Feed Your Starter
- Discard half of the mixture to make room for growth. Feed it with 50g flour and 50g water, stirring to combine.
- Repeat
- Cover and leave at room temperature for another 24 hours.
Days 3–5
- Daily Feedings
- Continue discarding half of the mixture and feeding with fresh flour and water once every 24 hours. By this point, you should notice an increase in bubbling and a strong, yeasty smell.
- Adjust for Growth
- If your starter doubles in size within 4–6 hours of feeding, it’s becoming active and strong.
Day 6–7
- Double Feeding (If Necessary)
- If your starter isn’t quite doubling in size or looks sluggish, feed it twice a day (every 12 hours) to boost activity.
- Look for Signs of Readiness
- A ready starter will be frothy, bubbly, and have a mild, tangy smell. When you drop a spoonful into water, it should float.
Congratulations! You’ve successfully made your own sourdough starter.
Maintaining Your Sourdough Starter
Once your starter is active, the feeding schedule will depend on how often you plan to bake.
- Frequent Baking (Daily): Feed your starter once every 24 hours, keeping it at room temperature.
- Occasional Baking (Weekly): Store the starter in the fridge and feed it once a week. Pull it out and feed it several times to re-activate before baking.
Feeding Ratio
For easy maintenance, use a 1:1:1 ratio (equal parts starter, flour, and water by weight). For example, if you have 50g of starter, feed it with 50g flour and 50g water.
Troubleshooting Common Issues
Even with careful attention, it’s normal to encounter small challenges. Here’s how to solve them.
- No Bubbles/Activity: Check the temperature (too cold slows fermentation) and ensure you’re using filtered water. Switch to whole wheat flour for a few feedings to boost nutrients.
- Strong Smell (Like Vinegar): This indicates acidity. Feed more frequently to balance the pH and reduce tanginess.
- Mold or Discoloration: If mold appears, discard the starter and start over. Prevent mold by using clean tools and storing your jar in a dry spot.
Using Your Starter in Baking
Your starter is now the gateway to a world of sourdough recipes. Here are a few tips to get started.
- Baking Bread: Use 20–25% of your flour weight as starter for a balanced recipe. For example, if your recipe calls for 500g flour, include 100g starter.
- Discard Recipes: The unused portion of starter after feeding doesn’t have to go to waste! Use it in pancakes, crackers, waffles, or even cookies for a tangy twist.
- Experiment: Play with different flours like rye or spelt to add unique flavors and textures to your sourdough.
If you’re hesitant to start, remember this: the process is forgiving and adaptable. Each day, you’re nurturing something alive, and even small mistakes can be adjusted along the way