 (Image source: Midjourney)
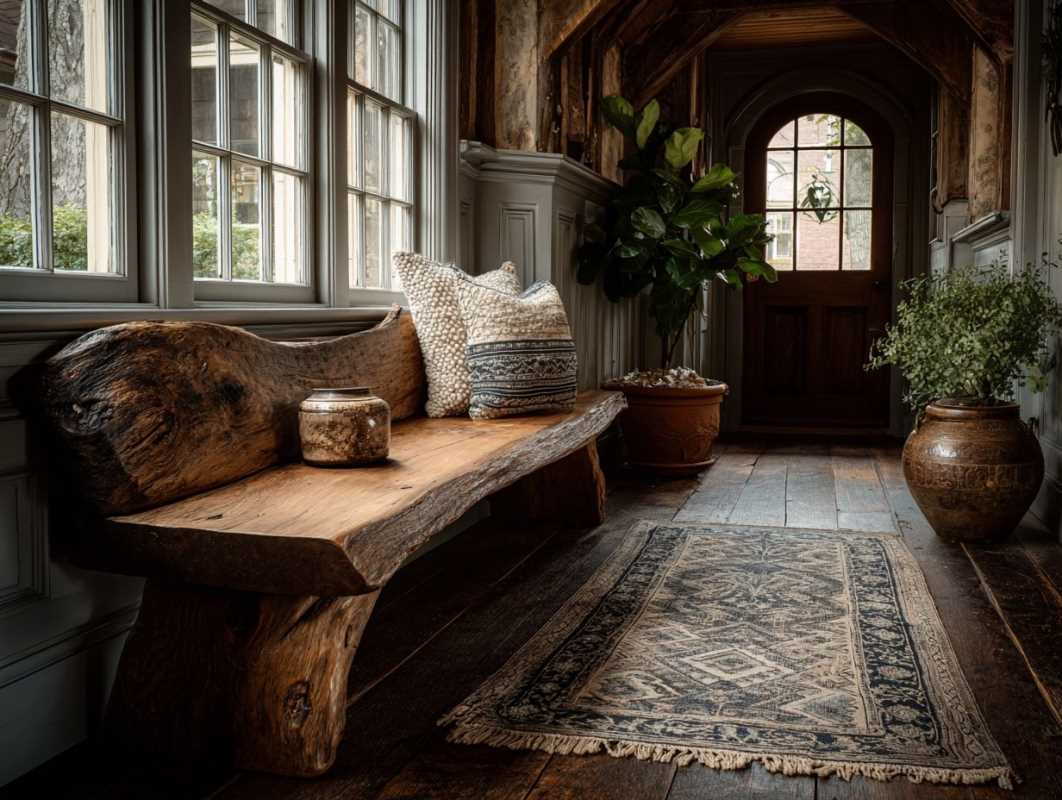
 A rustic wooden bench is a warm and welcoming addition to your home. Perfectly suited for an entryway, it blends functionality with charm, offering a cozy spot to sit, slip on shoes, or drop off bags. Plus, crafting your own bench lets you add a personal touch while showcasing your woodworking skills. This step-by-step guide walks you through building a rustic wooden bench that elevates your entryway and becomes a conversation starter for guests. From selecting the right materials to applying a distressed finish, we’ve got all the details covered.
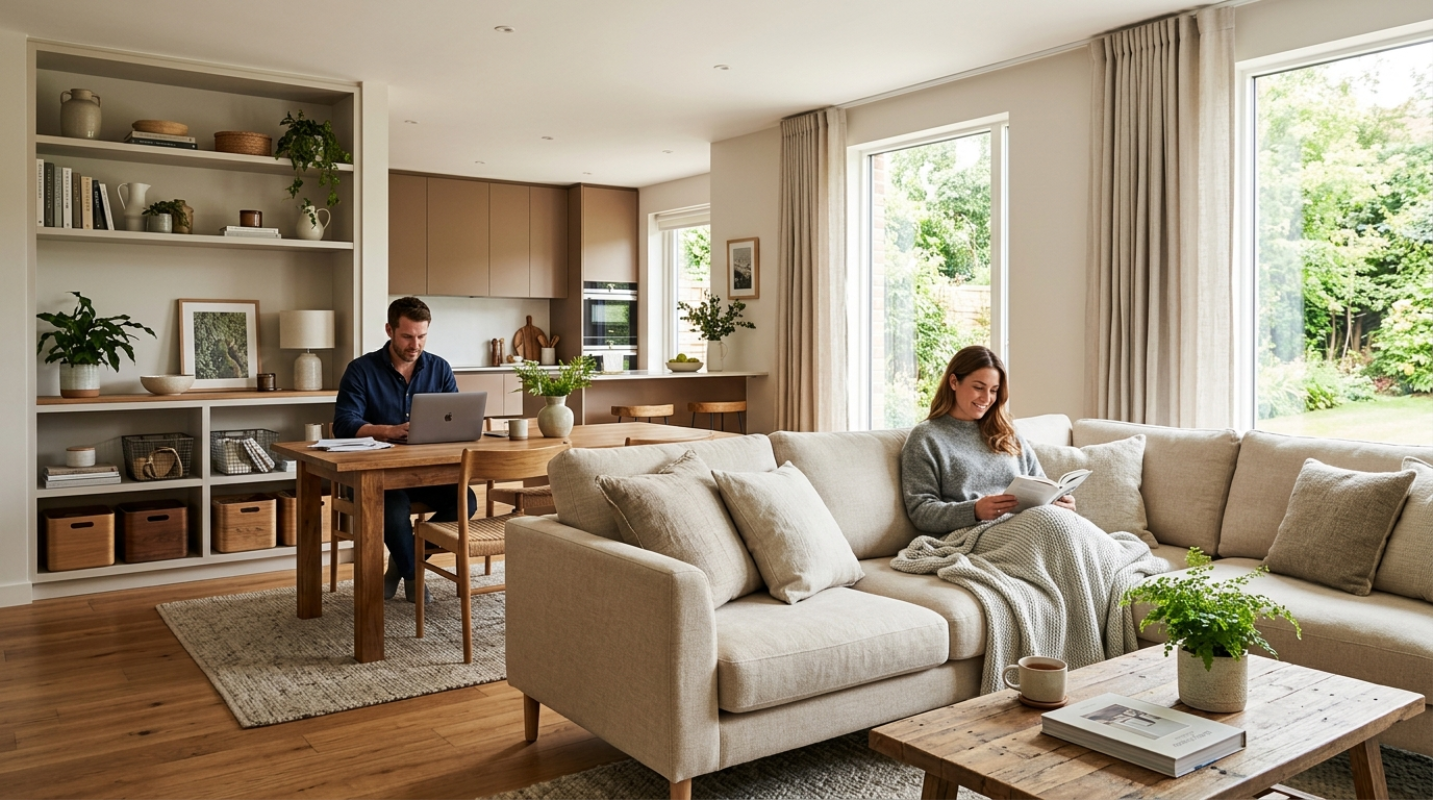
The Charm of Rustic Design
Rustic design values simplicity and natural beauty. It highlights imperfections such as wood grain, knots, and uneven textures that bring character to a piece. A rustic bench can complement various entryway styles, from farmhouse chic to modern rustic, blending effortlessly with other decor elements like woven baskets, warm lighting, or greenery.
Before we get started, here’s an overview of what you’ll need to make this project a success.
Materials
- Wood (Pine, Cedar, or Reclaimed Wood)
- Wood Screws or Nails
- Wood Glue
- Sandpaper (Medium and Fine Grit)
- Wood Stain or Paint (optional)
- Wood Finish/Sealant (Polyurethane or Wax)
Tools
- Measuring Tape
- Saw (Hand Saw, Circular Saw, or Miter Saw)
- Drill (with Screw Bits)
- Clamps
- Paintbrush or Rags (for staining)
- Hammer (if using nails)
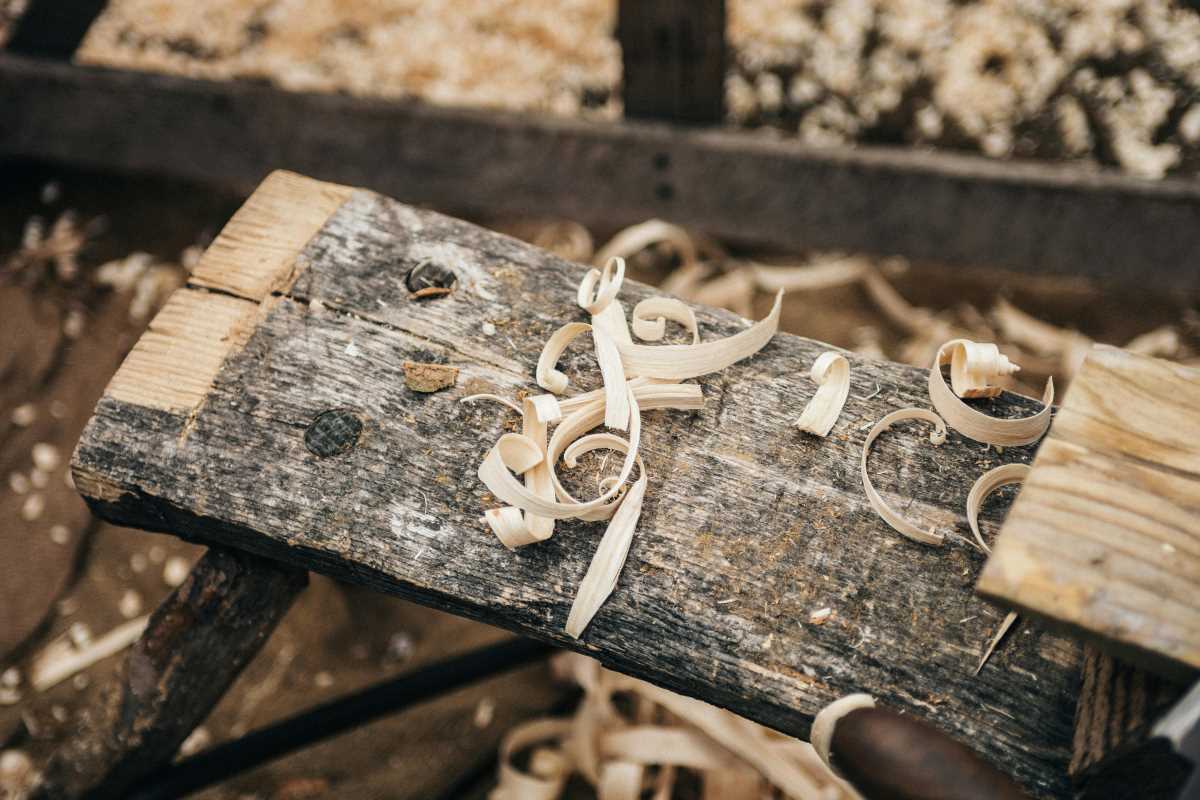
Step 1: Choose Your Wood
The right wood makes all the difference in achieving that rustic look. Consider these options:
- Pine is affordable and easy to work with, offering a classic rustic feel once finished.
- Cedar has natural coloring and weather resistance, perfect if your entryway gets extra humidity.
- Reclaimed Wood such as pallets or barn wood adds character with its natural imperfections like nail holes or weathered edges.
Wood Dimensions
For this bench, you'll need the following:
- Two planks for the seat (approx. 48 inches x 10 inches x 1 inch).
- Two legs (approx. 18 inches tall, 2x4 wood recommended).
- Two stretcher beams for added stability (approx. 36 inches x 2 inches x 1 inch).
Step 2: Cut the Wood
Use your measuring tape to mark accurate cuts on the wood. A miter or circular saw works best if you have access to one, ensuring clean, straight cuts.
- Cut the seat planks to the desired length (around 48 inches is a good width for an entryway bench).
- Cut four pieces for the legs. You’ll balance the bench on these, so ensure all are the same length.
- For the stretchers, cut two pieces to connect the legs along the width of the bench.
Pro Tip: If you’re using reclaimed wood, check for nails or staples and remove them before cutting.
Step 3: Assemble the Frame
Now that your pieces are cut, it’s time to assemble the bench. Start by attaching the legs to the seat.
- Attach the Legs
- Position two legs at each end of the bench’s underside. Line them up so they’re flush with the edges.
- Drill pilot holes to prevent the wood from splitting, and secure the legs with wood screws and a little wood glue for added stability.
- Add the Stretchers
- Attach the stretcher beams horizontally between the legs to connect them and add support. Position one near the top (just below the seat) and the other closer to the base of the legs.
- Use clamps to hold the pieces in place while you drill and secure each stretcher.
- Tighten all screws and ensure the frame is sturdy. Test the bench by gently applying pressure to check for wobbling.
Step 4: Sand the Bench
Now it’s time to smooth out the surfaces while keeping the bench’s rustic charm intact.
- Start with medium-grit sandpaper (80-120) to remove rough edges, splinters, and saw marks.
- Finish with fine-grit sandpaper (220) for smoother surfaces but don’t overdo it; you still want the bench to look natural and slightly imperfect.
Pro Tip: If your bench has any cracks or holes, you can fill them with wood filler for a cleaner look, or leave them untouched for a more rustic appeal.
Step 5: Apply a Distressed Finish
A distressed finish enhances the rustic charm of your bench. Here’s how to achieve it:
- Staining
- Choose a wood stain that mimics an aged look, such as walnut or driftwood gray.
- Apply with a rag or brush in smooth, even strokes, and wipe away excess stain for a subtle finish.
- Distressing
- Lightly strike the surface with tools like a hammer, chain, or screwdriver to create random dents and scratches.
- Sand certain spots more aggressively to expose raw wood for a weathered look.
- Painting (Optional)
- If you prefer a painted bench, consider milk paint or chalk paint for a vintage vibe.
- Sand lightly after painting to reveal some wood underneath for a distressed effect.
Step 6: Seal the Bench
To protect your bench and ensure it lasts through daily use, sealing is essential.
- Choose polyurethane for a durable finish or beeswax for a softer, matte look.
- Apply one to three coats, allowing drying time between applications.
- Focus on the edges and corners as they’re more prone to wear.
Step 7: Add Personal Touches
Make your bench uniquely yours by incorporating personal or decorative elements.
- Carve your initials or a meaningful design into the wood before staining.
- Add a cushion or throw pillow that matches your entryway decor.
- Attach hooks underneath for additional storage or a small basket to hold shoes.
Step 8: Maintain Your Bench
Keeping your rustic bench in great condition is easy with a little routine care.
- If the bench is sealed, simply wipe spills with a damp cloth.
- Avoid placing it in direct sunlight, which can cause discoloration.
- Reapply the finish every year or as needed to maintain its look and durability.