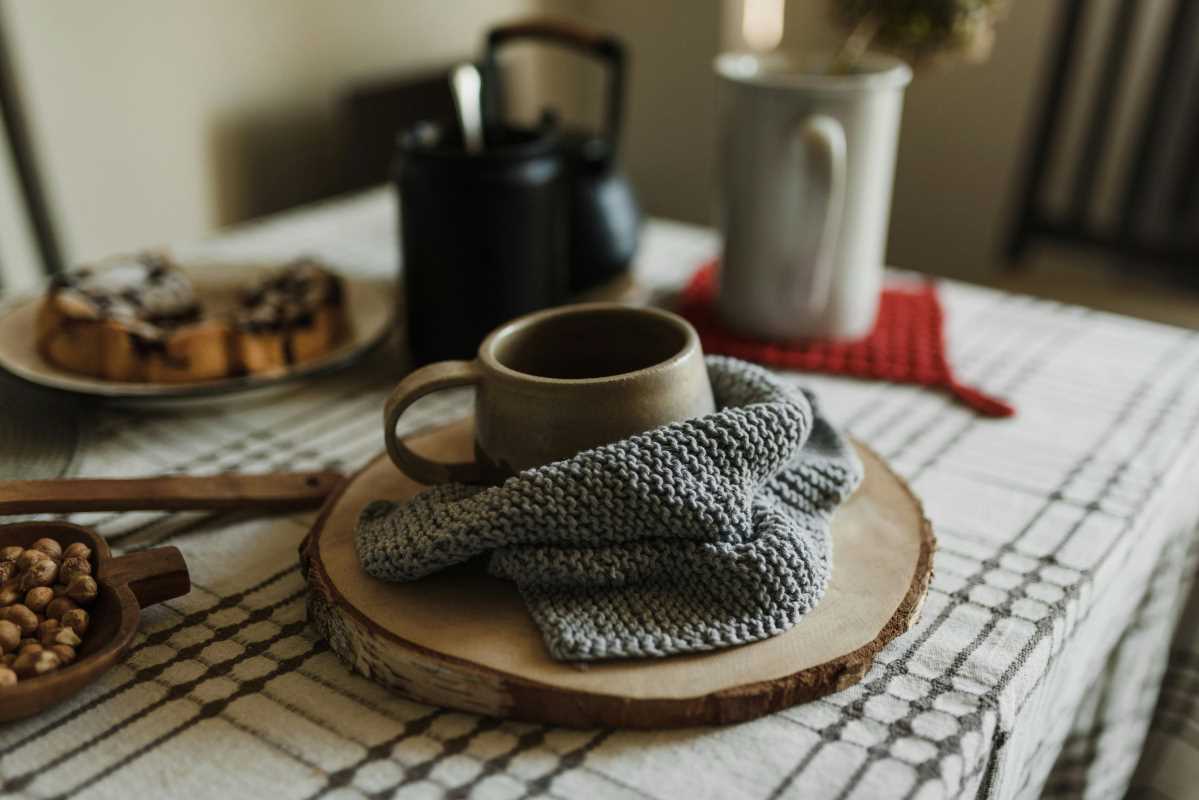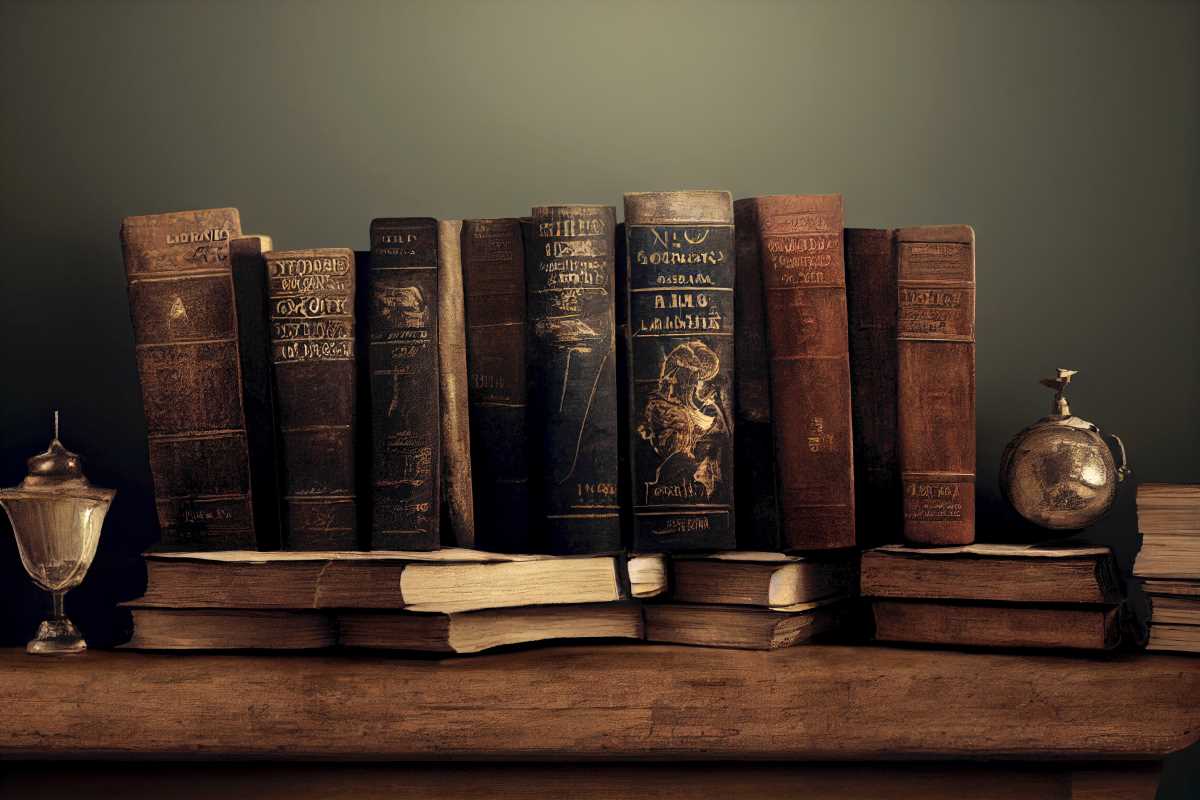
There’s a special kind of charm that comes with using handmade pottery in your home. It’s a mix of artistry, durability, and personal touch that can’t be replicated by mass-produced items. Whether it’s a rustic planter, a cozy coffee mug, or a decorative bowl, pottery brings warmth and character to any space. Even more magical? Creating those pieces yourself. Beyond being a relaxing and creative hobby, pottery connects you to the items you use every day, making them both beautiful and meaningful.
If you’ve always admired handmade ceramics but didn’t know where to begin, this guide will walk you through the basics of starting pottery. From essential tools and materials to beginner-friendly projects, you’ll discover just how accessible (and rewarding) this art form can be.
Why Add Handmade Pottery to Your Home Décor?
Handmade pottery isn’t just functional; it’s a form of self-expression that enhances your living space in unique ways. Here are a few reasons why it’s worth incorporating into your décor:
- Personal Touch: Each handmade piece has its own quirks and imperfections, giving it personality and vibrancy.
- Sustainability: Unlike plastic and other mass-produced materials, pottery is eco-friendly and built to last.
- Timeless Aesthetic: Handmade ceramics complement any décor style, from modern minimalism to boho chic.
- Mindful Living: Creating and using handmade pottery turns everyday moments, like enjoying coffee or displaying flowers, into rituals of appreciation.
Now that you’re sold on the beauty of handmade ceramics, let’s explore how you can start creating your own.
Essential Materials and Tools for Pottery Beginners
Starting pottery doesn’t require a massive investment, but a few basic materials and tools are must-haves. Here’s what you need to get started:
1. Types of Clay
- Air-Dry Clay: Ideal for absolute beginners or those without access to a kiln. It dries naturally and is great for small decorative pieces.
- Earthenware: A lower-temperature clay perfect for functional items like bowls or mugs. It feels smooth and is relatively easy to shape.
- Stoneware: More durable and robust, stoneware is the go-to choice for functional home décor pieces like planters or serving dishes.
Pro Tip: Start with a small block of clay to practice techniques before committing to larger batches.
2. Tools for Shaping Clay
- Clay Knife: For cutting and trimming clay with precision.
- Wooden Modeling Tools: Useful for shaping, smoothing, and adding details to your pieces.
- Wire Cutter: Ideal for slicing large chunks of clay.
- Rolling Pin (or a slab roller): For flattening clay evenly.
- Pottery Sponge: Helps keep your clay moist and smooth during molding.
- Loop Tools: Used for carving or trimming excess clay.
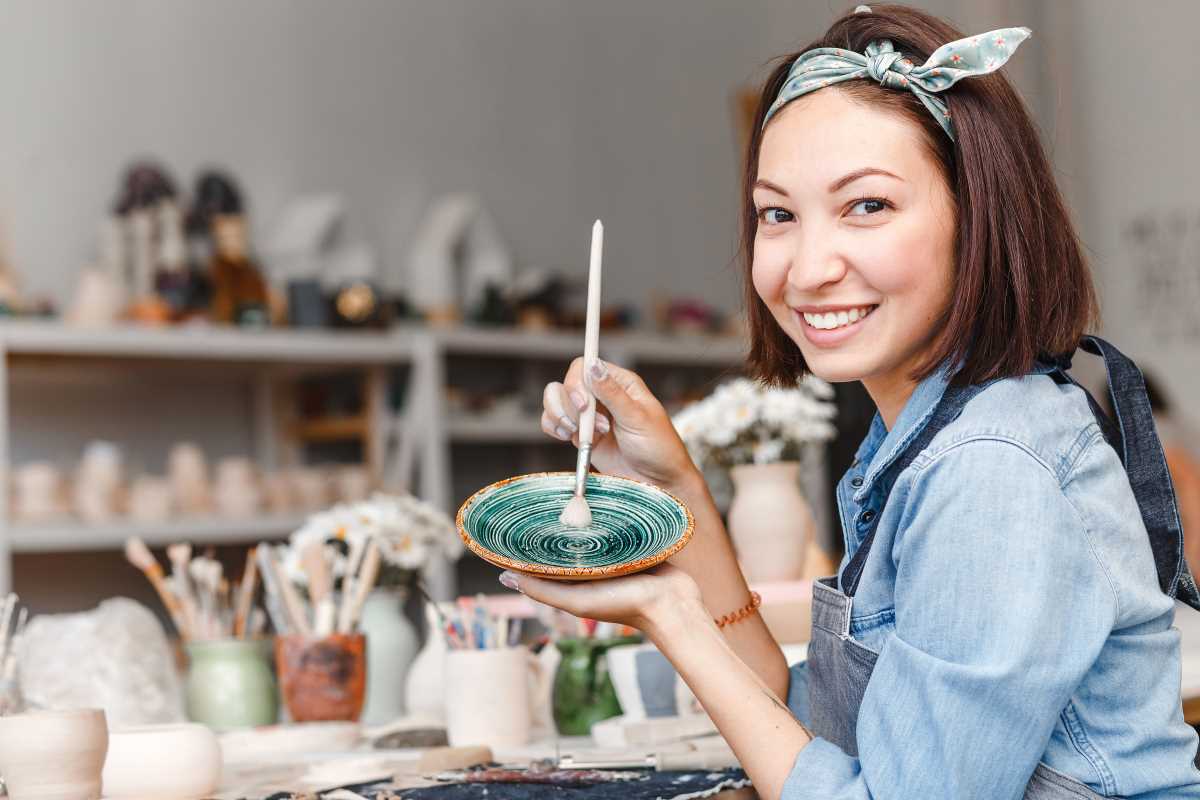
3. Decorating Supplies
- Clay Engraving Tools: Create patterns, textures, or designs on your pottery.
- Underglaze: For painting vibrant colors on clay before firing.
- Glaze: A must for sealing and finishing your pottery to make it food-safe (if applicable). Look for beginner glaze kits.
4. Firing Options
If you don’t have access to a kiln, don’t worry. Many beginner potters start with air-dry clay or look for community pottery studios where you can use shared kilns. Some art supply stores also offer firing services.
5. Workspace Essentials
You don’t need a fancy studio to begin pottery. A sturdy table and a tarp or canvas to protect surfaces from clay are all you need. Make sure your workspace has easy access to water for cleaning tools and keeping your clay workable.
Beginner-Friendly Pottery Projects to Try
Once you’ve gathered your materials and set up your workspace, it’s time to get your hands dirty. Start with simple projects that build confidence and teach foundational pottery techniques.
1. Hand-Built Bowls
Bowls are an excellent starting point for beginners because they’re both practical and forgiving. Use the pinch-pot technique, which involves shaping a ball of clay into a bowl using your fingers.
Tip: Smooth out the edges with a damp sponge for a polished finish. You can experiment with adding texture by pressing in patterns like dots or lines.
2. Planters for Small Plants
Planters are versatile and add a natural touch to any home. Use the slab-building method, where you roll out a flat piece of clay, cut it into shapes, and assemble them like a box. Add drainage holes at the bottom for functional use.
Design Idea: Engrave botanical patterns or press leaves into the clay surface for a nature-inspired look.
3. Simple Mugs
Creating a handmade mug is a rewarding project for beginners. Start with the coil-building technique, where you roll clay into long “snakes” and layer them to build up the walls of the mug. Attach a handle by scoring (scratching) and slipping (adding water to act as glue).
Tip: Keep your first mugs simple. Once you’re comfortable, you can experiment with unique shapes and handles.
4. Trinket Dishes
Perfect for holding jewelry or keys, trinket dishes are small, quick projects that allow you to practice various techniques. Use a cookie cutter to shape the clay, then gently bend the edges upward. Add textures or paint for a decorative touch.
5. Textured Coasters
Coasters are a great way to test your decorating skills. Roll out a slab of clay, cut it into circles or squares, and press patterns onto the surface. Use stamps, lace, or textured objects to leave unique impressions.
Tips for Getting Started with Pottery
Starting pottery can feel overwhelming, but with the right mindset and strategies, you’ll quickly find your groove. Here are some practical tips for beginners:
1. Practice Makes Perfect
Your first piece won’t be perfect, and that’s okay! Pottery is as much about the process as the final product. Focus on learning techniques and improving with each project.
2. Start Small
Don’t jump into making complex pieces right away. Stick to smaller projects like bowls or planters until you’re comfortable with shaping and finishing techniques.
3. Learn from Others
Take advantage of community pottery classes or online tutorials to develop your skills. Many pottery experts share detailed guides and tips on platforms like YouTube.
4. Be Patient
Pottery has multiple stages, from shaping to drying, firing, and glazing. Give your pieces enough time to dry thoroughly before firing or painting. Rushing can lead to cracks or imperfections.